The One in the World :

"DIY Sequoiadendron Giganteum" Goban ....

Genesis

First, there was this stump in the garden, 2 meters large. The tree had been taken down by the 1999 hurricane, and had been cut to logs. It was at least 200 years old.

Also, I had always wanted to try out building a goban. So there I was with my chain saw, trying to cut out a block large enough for a thick goban. In the end, the piece was at least 70 kilograms, and I struggled to get it off the stump. In the process, I discovered that the wood was extraordinary beautiful : light pink, unlike anything I had seen before.

So I asked around, and we found out it was a Giant Sequoia ... Just for the mention : this happens in Normandy, France, where you would not expect such a tree to grow ...

Next, I brought it to the sawmill where it was cut to the approximate dimensions of a goban and circled for drying.
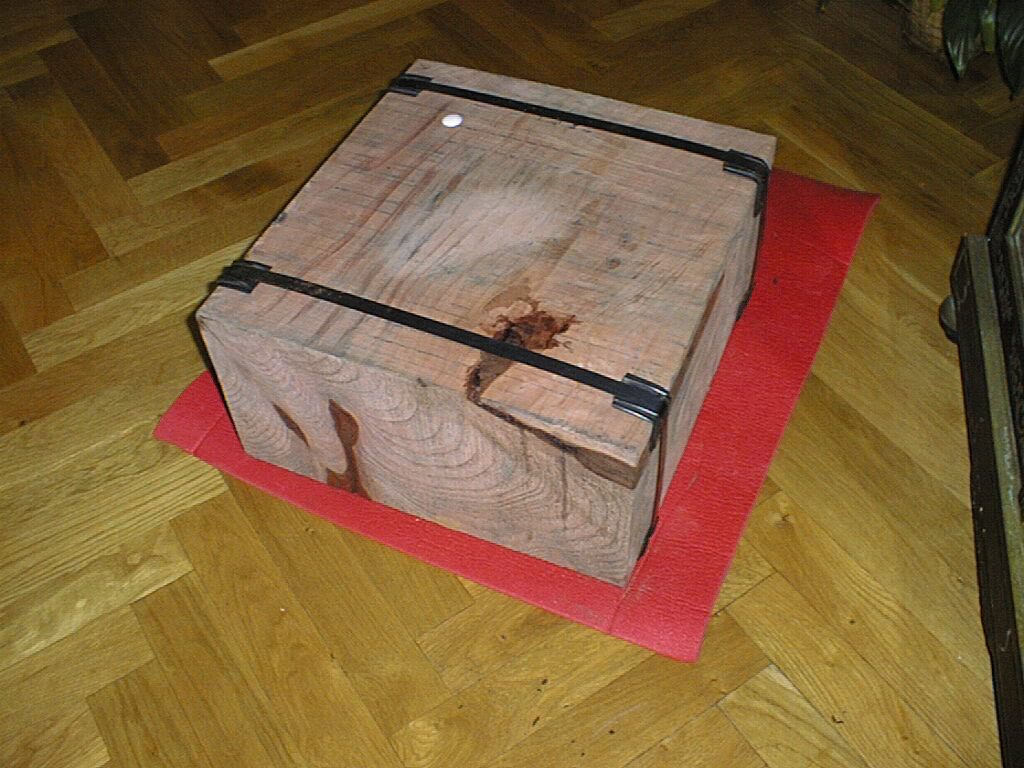
However, there was a big dissapointment : a piece of root was in the middle of the cutting plan, and I had a big dark spot on my goban.

I thought it was ruined, but I just went on, in the hope I could find out a way of getting rid of the spot ...

Then it spent 6 months in the drying closet.
Quite straightforward, but efficient.

I had read almost anything available on the web about building a goban, and I was rather confident.

That's were problems begun ...


The table

I don't have the URL of the movie I found once, shot in a Goban factory. If you find it, you will see that the equipment needed is rather ... large. So when it comes to replacing power tools (like, say, a 50 cm wide planer, because there is none in France) with a mere couple of hand tools, let me tell you you got something going ...

So I rented a power plane and a band sander, but it gave no good results, so I decided to make my own giant sanding block. It's the yellow board (30 grit !)

...
Several liters of sweat later, I had a perfect surface.


The good method :

find a small planner, but with a large table, and a workbench with a circular or band saw large enough. So that you can work out the faces really square and flat.


On the bottom side, I went for a shape of a loudspeaker, rather than the pyramid.

In the meantime, I had tried to eliminate the darker part of the root, with a bleaching agent, and hydrogen peroxide, and many other chemical products, but no luck. I ended up gluing a layer of wood, which I sanded down to the table level. It lightened the centre of the stain, but did not eliminate it by all means.

The finish and the lines

This was classical : sand down to 600 (this is somewhat too much), and lay a first coat of wax (I used shellack wax) diluted in terpentine (50/50) with a tissue. Then I removed the wax with an iron and a kleenex. The idea was to seal the wood surface with a minimum of wax, so that the ink would not smear into the wood.

There, I had an other surprise : I lost the pale tint of the wood, which became darker under the hot wax (you can see on the above picture the difference : the bottom face is not waxed) ...

For the lines, I could not use the traditional lacquer and blade trick. You need a grid gauge for that, in addition to the metal blade (the sword thing is a legend : a sharp blade would not produce a nice line). So I used a calibrated marker.

Then, I put the second wax layer, and polished it. The problem is that it was too thick, and the finish was not as regular as I had wished. So I had to polish it again several weeks after.


The good method :

use pure terpentine from a chemical store, and not from wall mart, because the terpentine you find a wall mart has additives which leaves white stains when drying. Also, instead of using a tissue for the wax, use the finest (0000 grade) steel wool. For the first coat, use a more diluted wax solution, lay it very thin, and polish it down with a wool tissue.


The legs

This is the real tough part. If you look at the real stuff, you can imagine what it takes to the unexperimented newbie to carve these legs.

I started the same way as in Japan : by sawing square plans in the octogons. Then, I used a large cylindrical grater with my drilling machine. Then I used smaller and different shapes, to end up with the dremel. I also used hand sanding with a piece of cylinder.

There I cheated for the inlets : instead of going for the genuine square inlets, I just drilled holes and put a peg. Ok, that's cheap ... I admit.


Now : Playing

When I brought it to the club, there was a former pro korean player, and he had to come quite close to realise it was a 'fake'.

An other 4D player just ignored the goban when he came in (because the former pro was there, he though they were related). Then I asked him if he had seen the goban, he just said "ah, such a goban is not for me playing on it ..."


Shortly after that, he was actually playing on it.


There are two problems : the look and the sound.

Because of the stain, the goban is not really what I would expect in terms of perfections. Nevertheless, it's not too much of an annoyance when playing.

Also, the sound is not really sharp (yet). There are several reasons : first, the sequoia is not hard enough for making a proper sound, and the wood is not totally dry deep inside. But this will cure with time.


The cheats :

Compared to an original, the only cheat codes I used were :
- the obnoxious wood species (giant sequoia), not meant for this kind of use
- the ink for the lines
- the legs inlets
- the loudspeaker instead of a pyramid shape on the bottom face

All the rest is genuine just as in a true one.

Overall, let me assure you there is nothing like playing on your goban ...


Still, something bothers me : there is this stain, but Sai didn't want to show up yet !


mail me